Your Laptop Remembers
An API key in a screenshot, a .env file in an abandoned side project, a text note full of passwords. How to find every leaked secret on your own laptop, read-only, without anything leaving the machine.
A while ago you took a screenshot. There was an API key on the screen: the one moment a cloud console shows it to you, which is exactly why you took the picture.
There is a .env file in a side project you stopped working on. And somewhere
a text note with passwords you meant to move into a password manager.
You forgot about all of it. Your laptop did not.

This is a walkthrough of finding those things on your own machine with Classifyre: one Docker command, your files mounted read-only, nothing uploaded anywhere. It takes about fifteen minutes of your attention. The scanning does the rest by itself.
The laptop in these pictures is a staged one. Every key on it is a vendor’s documented example or an obvious placeholder, and the person it belongs to does not exist. The product screens are the real ones.
What you end up with
- Every secret the detectors can see, in every folder you point them at: cloud keys, tokens, private keys, passwords in config files and notes, including text that only exists inside an image.
- A standing question that keeps answering after every scan: where are secrets leaked on my laptop?
- A case board that fills itself, and empties itself again as you clean up.
1. One command, and one extra line
The quick start on classifyre.com is a single
docker run. Before you paste it, add one line: your home folder, mounted into
the container read-only.
docker run -d --name classifyre \
  -p 3000:3000 \
  --shm-size=1g \
  -v classifyre-pgdata:/var/lib/postgresql/data \
  -v classifyre-data:/var/lib/classifyre \
  -v classifyre-uv-cache:/cache/uv \
  -v "$HOME:/my-laptop:ro" \
  classifyre/all-in-one:latest
Two things are worth knowing about that line.
:ro is the filesystem’s promise, not ours. Classifyre only ever reads
from a folder source. Mounting it read-only means that even a bug could not
change, move or delete one of your files: the container has no way to write
there.
Nothing leaves the laptop. The image contains the app, its database and
its scanner. It serves one port, 3000, on your own machine. There is no
account and no signup, and what the scans find is stored in a Docker volume
next to your other containers.
It needs Docker and about 4 GB of memory. On macOS, the system may ask whether
Docker is allowed to read your Desktop, Documents and Downloads folders: say
yes to the ones you want scanned. If mounting the whole home folder is more
than you are comfortable with, mount only what you want looked at, for example
-v "$HOME/Desktop:/my-laptop/Desktop:ro". The
Docker guide has the rest.
2. A workspace, and the Desktop as its first source
Open http://localhost:3000 and create a workspace. A workspace is one
investigation with its own sources, findings and cases; call it what it is.
Then tell it where to look. Under Sources, choose Add Source and pick Mounted Folder. Most things end up on the Desktop sooner or later, so start there.

The path is the one thing people get wrong. It is the path as the scan sees
it, inside the container, not as Finder shows it. You mounted your home
folder at /my-laptop, so your Desktop is /my-laptop/Desktop.
Leave sampling and schedule on Automatic
Both default to Automatic, and for a laptop that is the right answer.

Automatic sampling reads one bounded slice per scan instead of everything at once. The first scan takes the newest files; each one after that takes whatever is new first and then works backwards through what it has not seen. Once it has been all the way through, it stops going over old ground and only reads what is new.
The automatic schedule runs those scans back to back while each one still brings in new data, then widens the gap by itself, up to once a day. In practice: the laptop stays usable while the first pass runs, and afterwards you do not notice it at all.
Switch on two pre-built detectors
You do not write any rules. Pre-built detectors ship with the image. For this job, two are enough:
- Secrets, with every pattern enabled: AWS, GitHub, Stripe, Slack, OpenAI, private keys, JSON Web Tokens, basic-auth URLs, high-entropy strings, password keywords, and about twenty more.
- YARA, for files that look like malware. Unrelated to secrets, cheap to run, and a laptop’s Downloads folder is where you would want it.

Press Save & Scan. Then go and get a coffee: there is nothing to do until the first scans report.
3. The first finding is not in code
When you come back, the Desktop source has run a few scans and the Findings page has something to say. Findings are ranked, so the one that matters most is on top.

Here it is an AWS access key. Not in a repository, not in a config file. In a screenshot.

Classifyre reads the text inside images
before the detectors run. To a file browser, a screenshot of a cloud console is
Screenshot 2024-03-14 at 09.41.12.png. To the Secrets detector it is two
lines of text, and one of them is a credential.
This is the finding that changes the question. If a key is sitting in a picture on the Desktop, the interesting thing is no longer this key.
It is: where else?
4. Turn the question into an inquiry watch
In Classifyre a standing question is called an inquiry watch: a saved query over your findings that keeps matching as new scans land.
Under Investigations, create a New inquiry watch. Give it the question as its name, Where are secrets leaked on my laptop?, and choose the Secrets detector. Leave the sources on All sources: that is the point.

The preview answers before you save anything. On the staged laptop: twelve leaked secrets, on the Desktop alone.
Save it. From now on the watch re-answers after every scan, of every source, including the ones you have not added yet.
5. Open a case that keeps itself
A watch needs somewhere to report to. Open a case, link the watch as its driving watch, and switch on Keep this case topped up: later scans then add the watch’s new answers to the case by themselves.
Then scroll to Automatic clean-up and switch on two rules:
- Remove findings that disappear. A finding a scan no longer detects, or one whose file was deleted, leaves the case.
- Remove resolved findings. A finding marked resolved leaves the case.

Both are off by default, on purpose: a case that drops its own evidence is a surprise unless you asked for it. Here you are asking for it. The case is a to-do list, and a to-do list should get shorter when the work is done. Whatever leaves is written on the case’s timeline: which finding, and why.
6. Write the hypothesis down
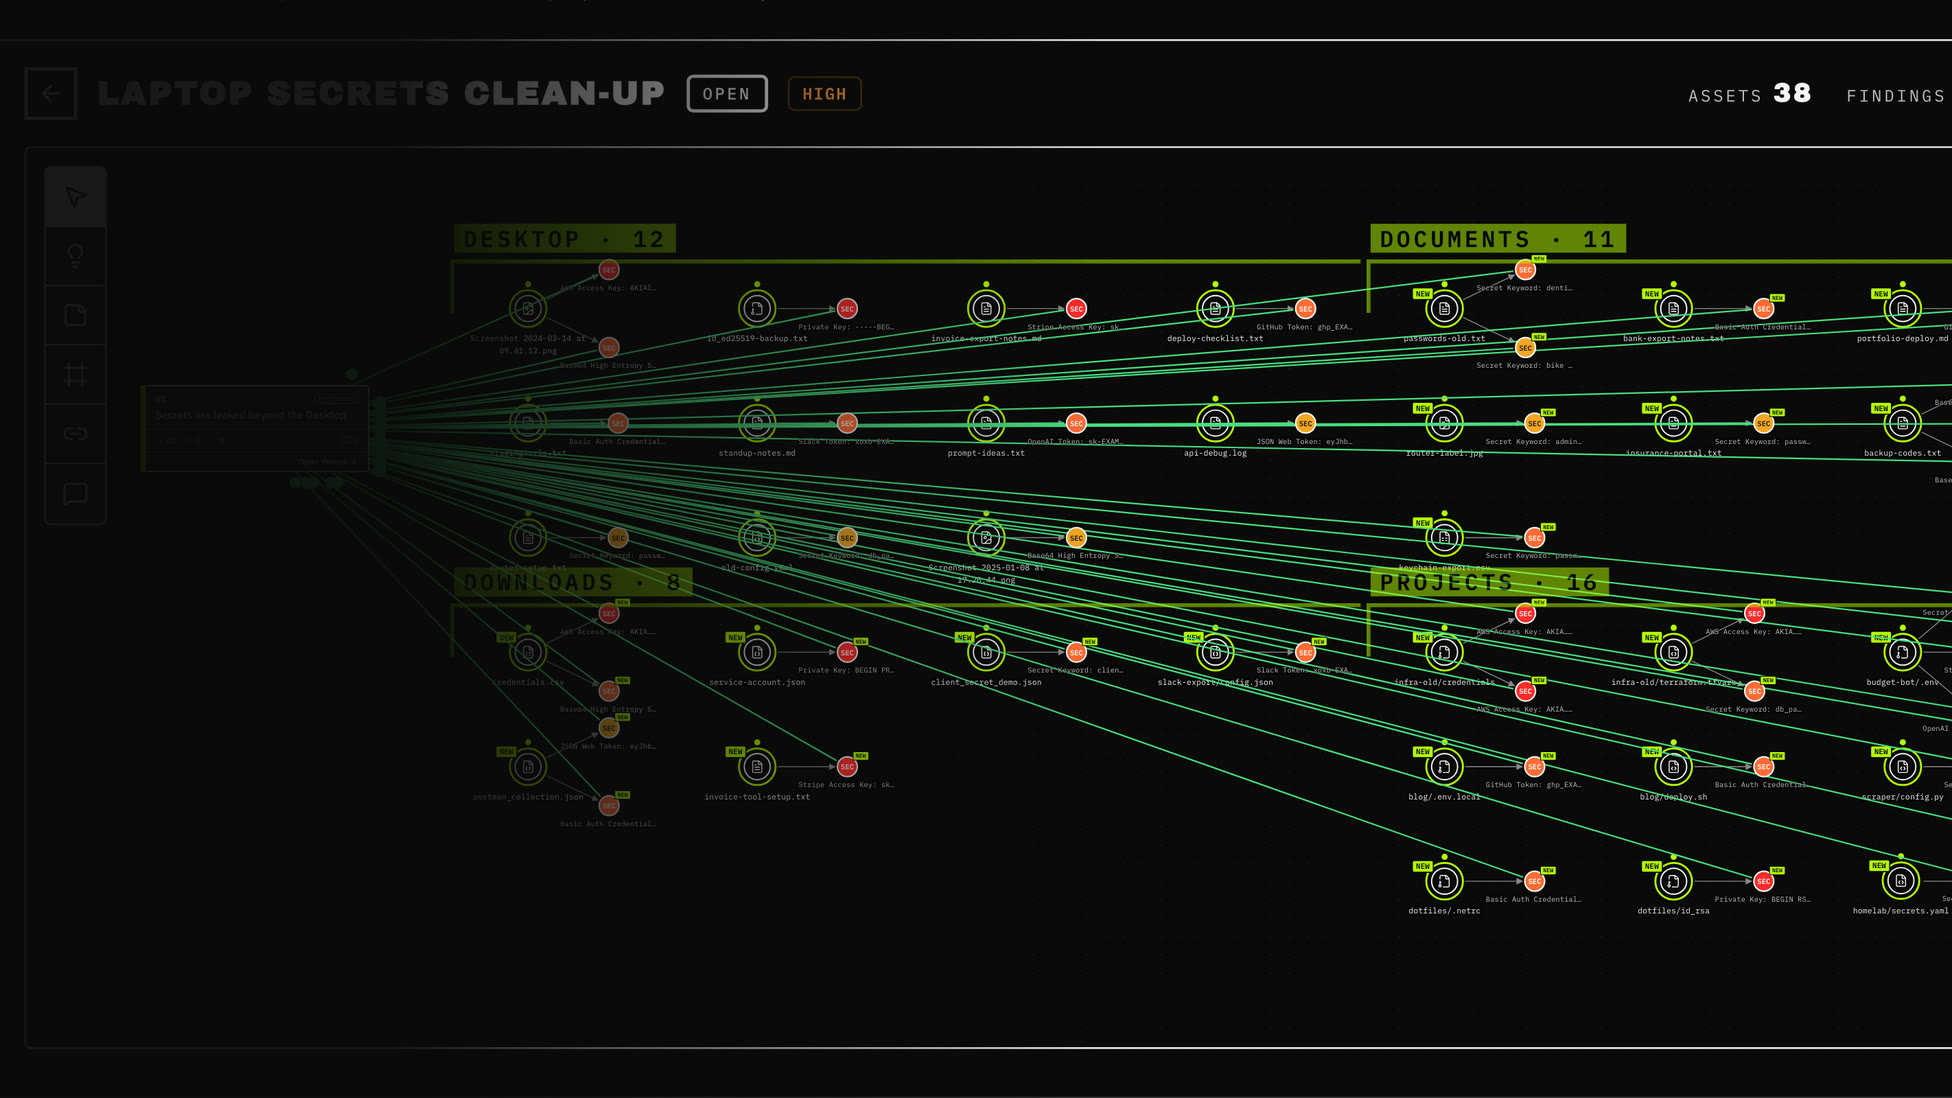
Every case opens on its board: the files as circles, the findings in them as smaller circles in their severity’s colour.
Add a hypothesis and write down what you actually suspect: Secrets are leaked beyond the Desktop. Then, in the Watches panel, add a hypothesis rule: everything this watch finds goes to that hypothesis, as supporting evidence.

Nobody drags anything. Each answer the watch brings in is linked to the hypothesis the moment it arrives, and lands next to it on the board.
To test the hypothesis, give it something to be wrong about. Add three more
Mounted Folder sources, /my-laptop/Documents, /my-laptop/Downloads and the
folder your projects live in, with the same two detectors. Then leave the
laptop running and go to bed.
7. The next morning
Nobody touched the board, and it grew. On the staged laptop: 38 files, 47 findings, every one of them already linked to the hypothesis.

The folder labels in the picture are ours, for the article; the board places new evidence to the right of the hypothesis, in the order it arrives. What it found is the kind of thing every working laptop has:
| Where | What |
|---|---|
| An old infrastructure project | Two AWS access keys in a credentials file |
An abandoned side project’s .env | A database password, a Stripe key, an OpenAI token |
| A text note in Documents | The login for the dentist’s portal, the code for the bike lock |
| Downloads | A service-account key, a credentials.csv exported once and never deleted |

The hypothesis holds. More usefully, you now know exactly where everything is: which file, which line, which kind of secret, and how bad.
8. Clean up, and watch the board get smaller
The next part is yours, and no tool should do it for you.
- Rotate the keys. A key that has been sitting in a file for two years is compromised as far as you can prove. Create a new one, delete the old one.
- Delete the files you no longer need: the screenshot, the exported CSV,
the
.envof the project you are never going back to. - Move the passwords somewhere they belong. A password manager, not a text file.
Then do nothing. The next scan notices the files are gone, the findings resolve, and the case, which you told to let go of what is resolved, lets them go.
The watch stays on. Weeks later, when a new credentials file lands in Downloads, it does not wait for you to remember any of this:

What this does not do
A walkthrough like this is only useful if it is honest about its edges.
- It does not rotate keys or delete files. Read-only means read-only. Finding is the tool’s job; deciding is yours.
- It finds what its patterns can see. A cloud key has a recognisable shape.
A four-digit code on a line by itself does not; it is found when the line
says what it is (
password:,secret=), or when you add a custom detector for your own formats. - A finding is not a verdict. High-entropy strings are sometimes just checksums. That is what the review on the board is for.
- It scans while the laptop is awake. A sleeping laptop pauses Docker. Automatic sampling simply carries on where it stopped.
Start with your Desktop
One command, on your own machine:
docker run -d --name classifyre \
  -p 3000:3000 --shm-size=1g \
  -v classifyre-pgdata:/var/lib/postgresql/data \
  -v classifyre-data:/var/lib/classifyre \
  -v classifyre-uv-cache:/cache/uv \
  -v "$HOME:/my-laptop:ro" \
  classifyre/all-in-one:latest
And when one laptop is not enough, a team’s shared drive, a file server, the buckets nobody has looked into since the migration, the same Classifyre runs on a cluster with the same sources, detectors, watches and cases.
Get ClassifyreMore from the blog
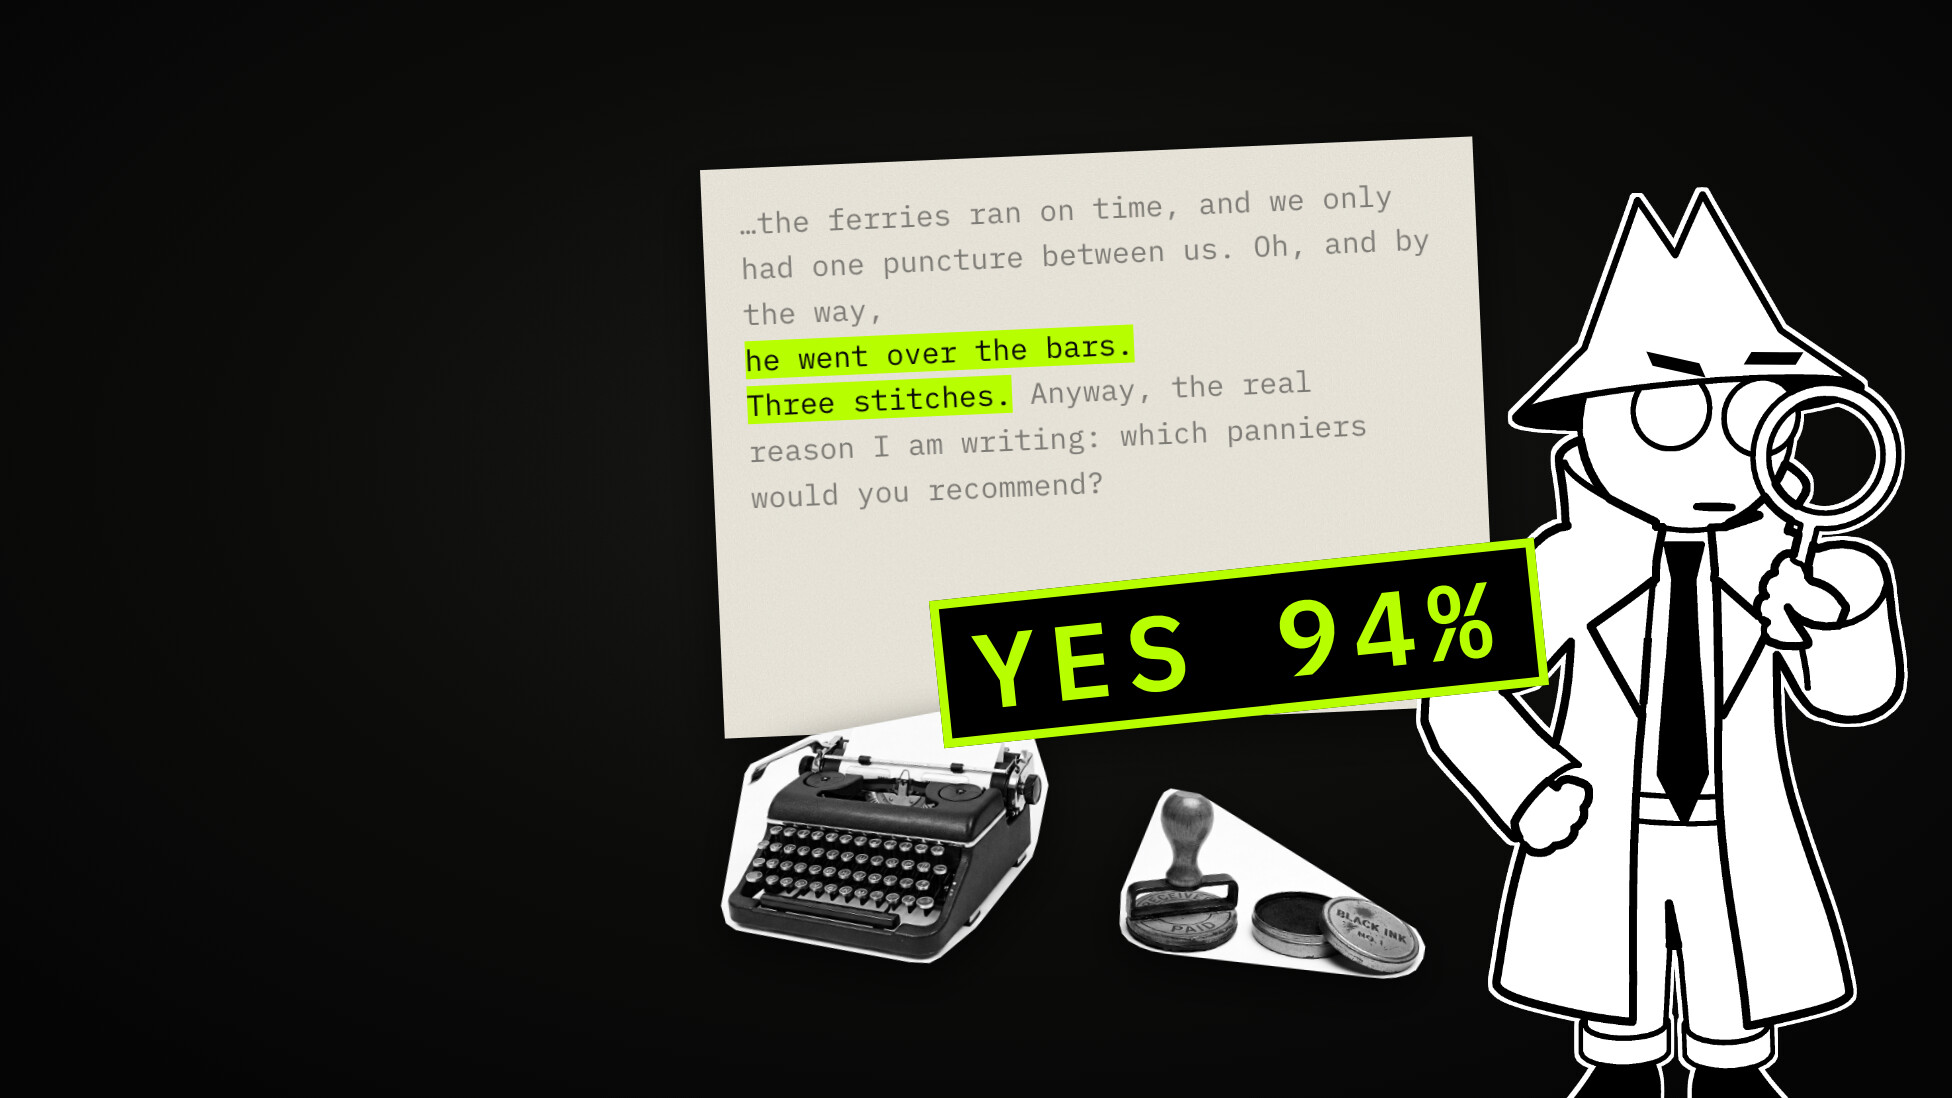
One Look: Decision Models, System One, and What Five of Them Did With Fifty Messages
A decision model does not write. You give it a text and a list of questions, and it answers each with a probability. What that is, where the name System One comes from, why there are suddenly so many, and what five real models did with fifty messages to a bike shop that does not exist.
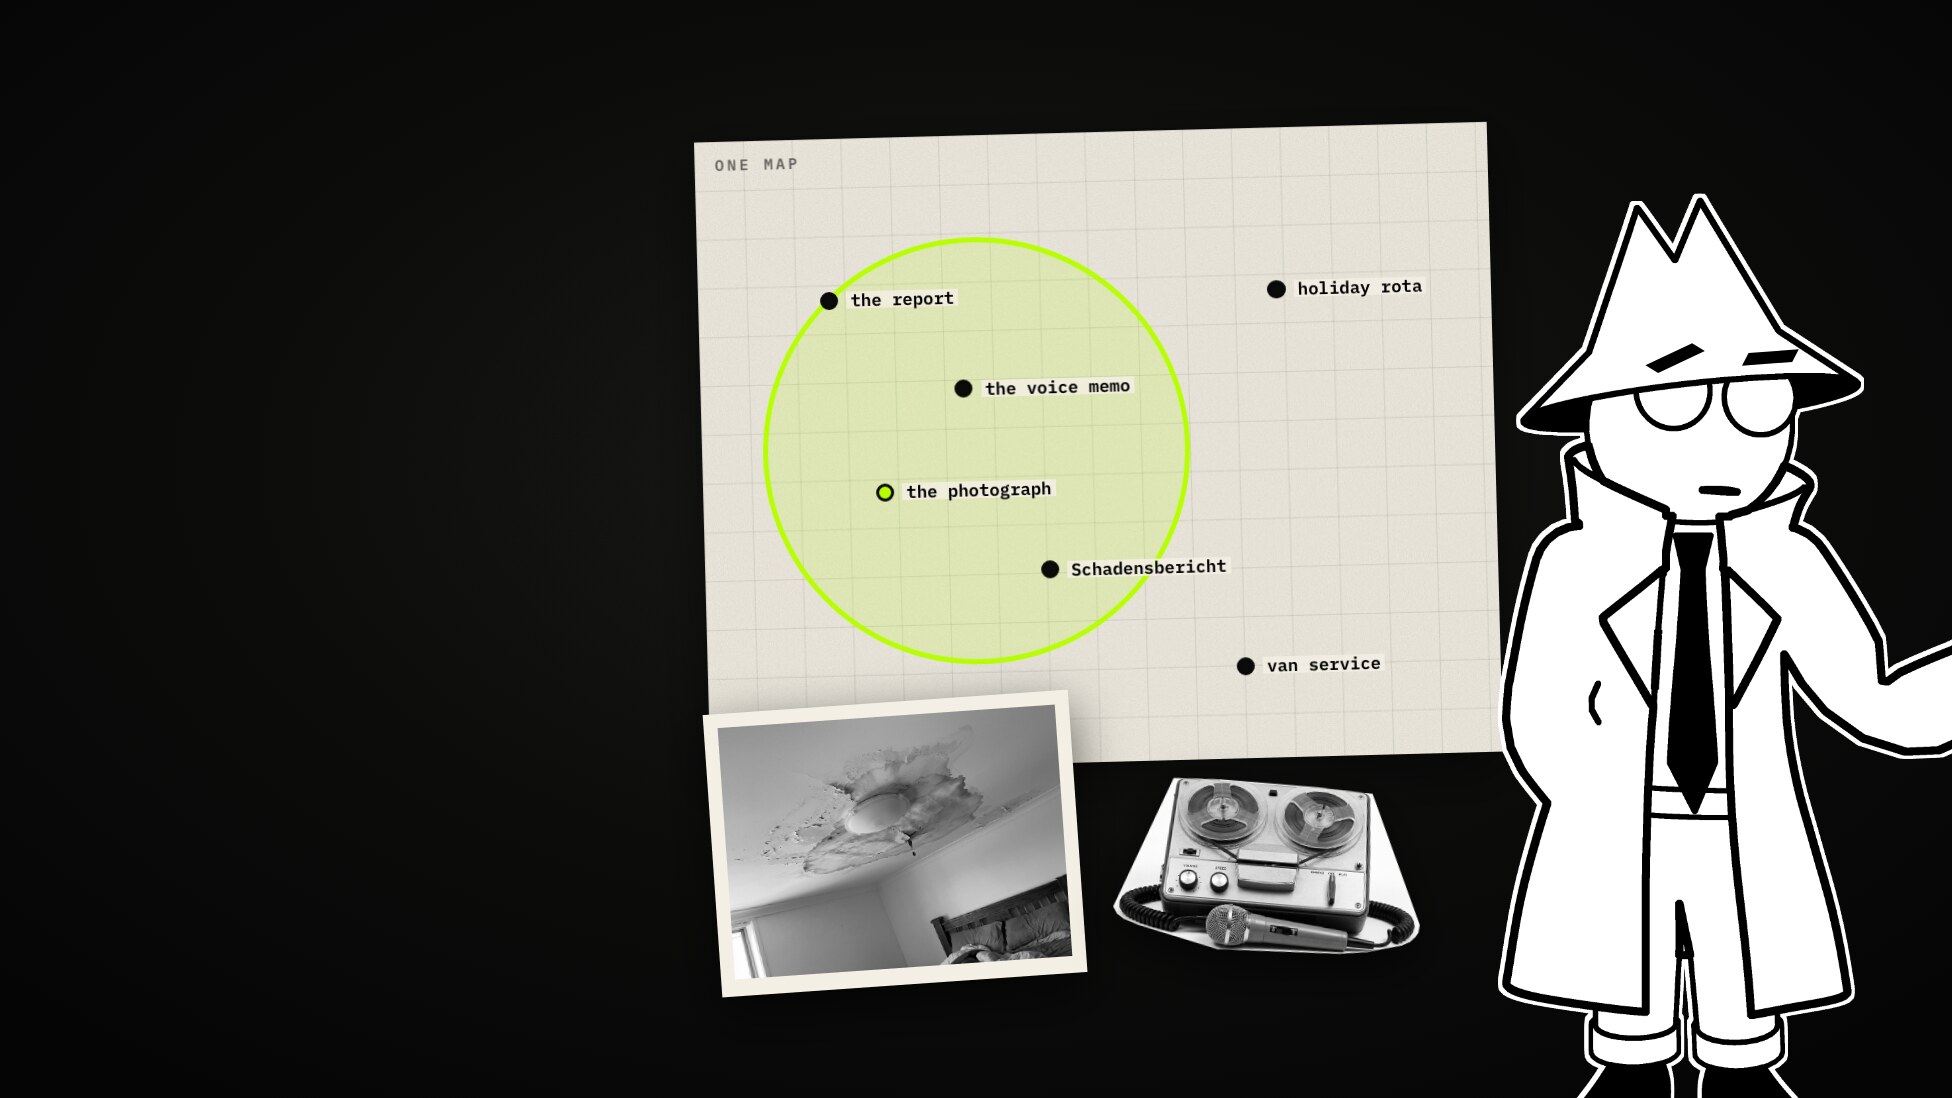
One Map: EmbeddingGemma 2 Explained, and What It Did on Four Processor Cores
EmbeddingGemma 2 puts text, pictures, sound and video into one vector space, and it is small enough to run without a graphics card. How it works, what came before it, and what we measured when we ran it on a CPU against an invented company's shared drive.
We Deleted Our Prettiest Screen: From Fingerprints to Near-Duplicate Review
Why we replaced the fingerprints similarity graph with a duplicate review queue — what the canvas cost us, what changed for cases, and what the new numbers actually mean.